Editors will be using CEO Connect in InCopy. Since designers can group all related text into an assignment in the CEO Connect extension, editors will be able to easily access all text in a story and page design and edit it in InCopy.
First time setup:
To download CEO Connect for InCopy, click here.
Once installed, you will want to set up your InCopy User. You do this by opening InCopy, going to File > User. There, you will enter your name and user color if your team uses those. Setting your user allows other members of your team to see who has a document checked out, who has made notes, and see if someone has content checked out in InDesign. If you plan to work personally in both InDesign and InCopy, we recommend differentiating those two users by adding “InC” to the end of your InCopy username.
Working with CEO Connect
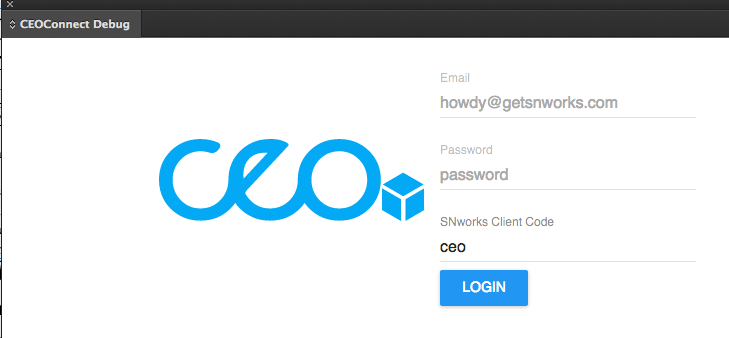
To open CEO Connect for InCopy, go to Window > Extensions > CEO Connect. A new window will open and prompt you to enter your CEO login information. It will also ask you for your 3-letter client code. If you don’t know your client code, check with a manager.

Setting your server path
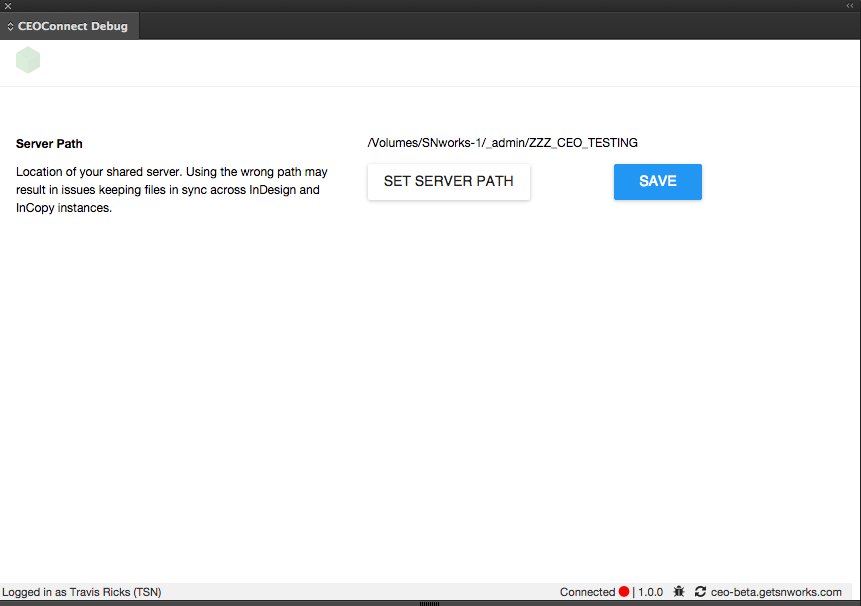
Before you place any content, you will need to tell CEO where you are keeping your files by setting your local server path. Click on the gear icon then click on "Settings." Navigate to the shared folder your IT team has created. Click save. (You should only have to complete this step the first time you log in.)

Be sure to keep the plugin window running, either opened or minimized, the entire time you're working. If the extension isn’t running CEO won’t be able to record changes.
Assignments vs. Content
Assignments make editing all of the related text for a story easy. When a designer places content in an InDesign document and adds things like pull quotes, a headline, text boxes, etc., they can group all of that content together into an assignment. When an editor opens an assignment in InCopy, they will be able to see and edit all of the text in its layout. The content tab is used for stories before they are placed into assignments.
To open an assignment in InCopy, simply double click on it. You can search for assignments by issue, section, assignee and keywords.
To create a new content file, click the plus button in the panel. You will be prompted to name the file and then InCopy will open a new window with your file. Be sure to check it in before closing the file.
Checking content out & in
After opening an Assignment, you will need to check out the content to edit it. You can do this any of the following ways:
- Choose File > Check Out.
- Start typing in any box and you will be prompted to check out
- You can also use the Assignments panel. To check out all content in an assignment at once, select the assignment in the Assignments panel, and choose Check Out from the panel menu.
- To check out individual items in an assignment, open the assignments list in the Assignments panel, select an item or multiple items, and choose Check Out from the panel menu.
- Once you are done editing content, be sure to check it back in by going to File > Check In before you close the document.
Updating status and section info
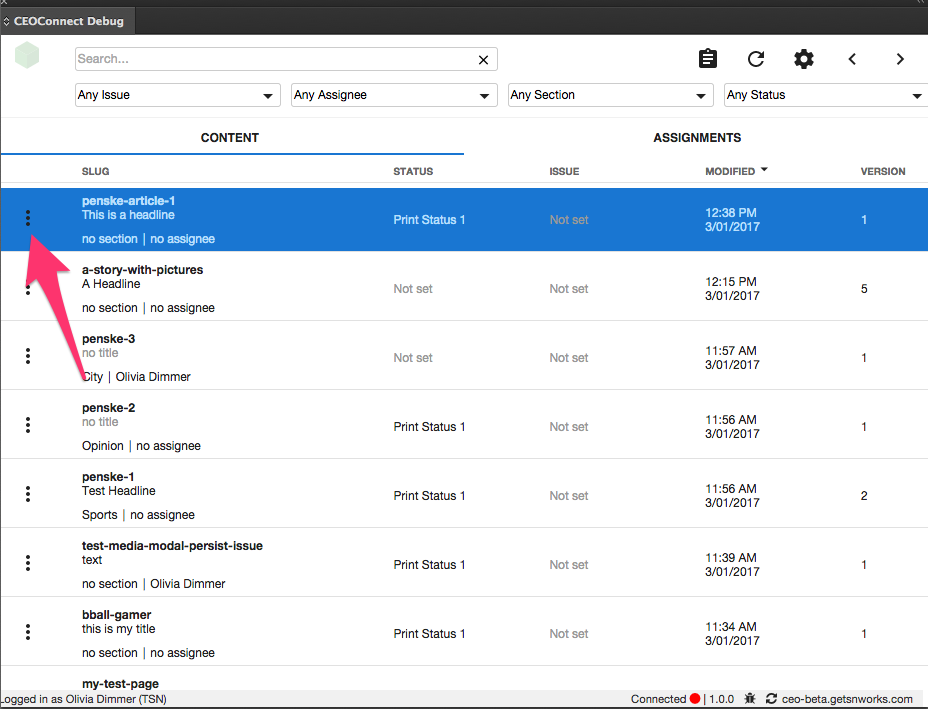
While using CEO Connect for InCopy, you can change the workflow status of your content or assignment by clicking on the three vertical dots in the left-hand corner of the item in the CEO Connect extension window. You can also change the workflow section, print issue, or assignee from this panel.
Pushing & Pulling Content
Placing items on a page with CEO Connect and editing text will not change the web version of the text — unless you want it to.
Items placed using CEO Connect can still be checked out using the web application. If changes are made in either version that you want to sync, follow these steps:

Click on the three vertical dots in the right hand corner. A menu will pop up.
From there, you can pull what is in the CEO web app to the print version.
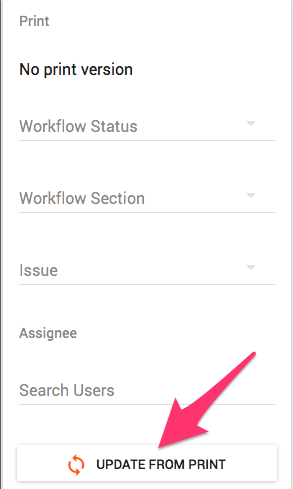
If you want to pull content from the Add-On into the CEO web app, log in to the web app, navigate to the content you want to pull, and select "Update from Print."


Comments
0 comments
Please sign in to leave a comment.